Ready, Set, Swim! 10 Essential Steps for a Successful Pool Opening in Spring
Posted by Michael Hervas on Mar 27, 2023
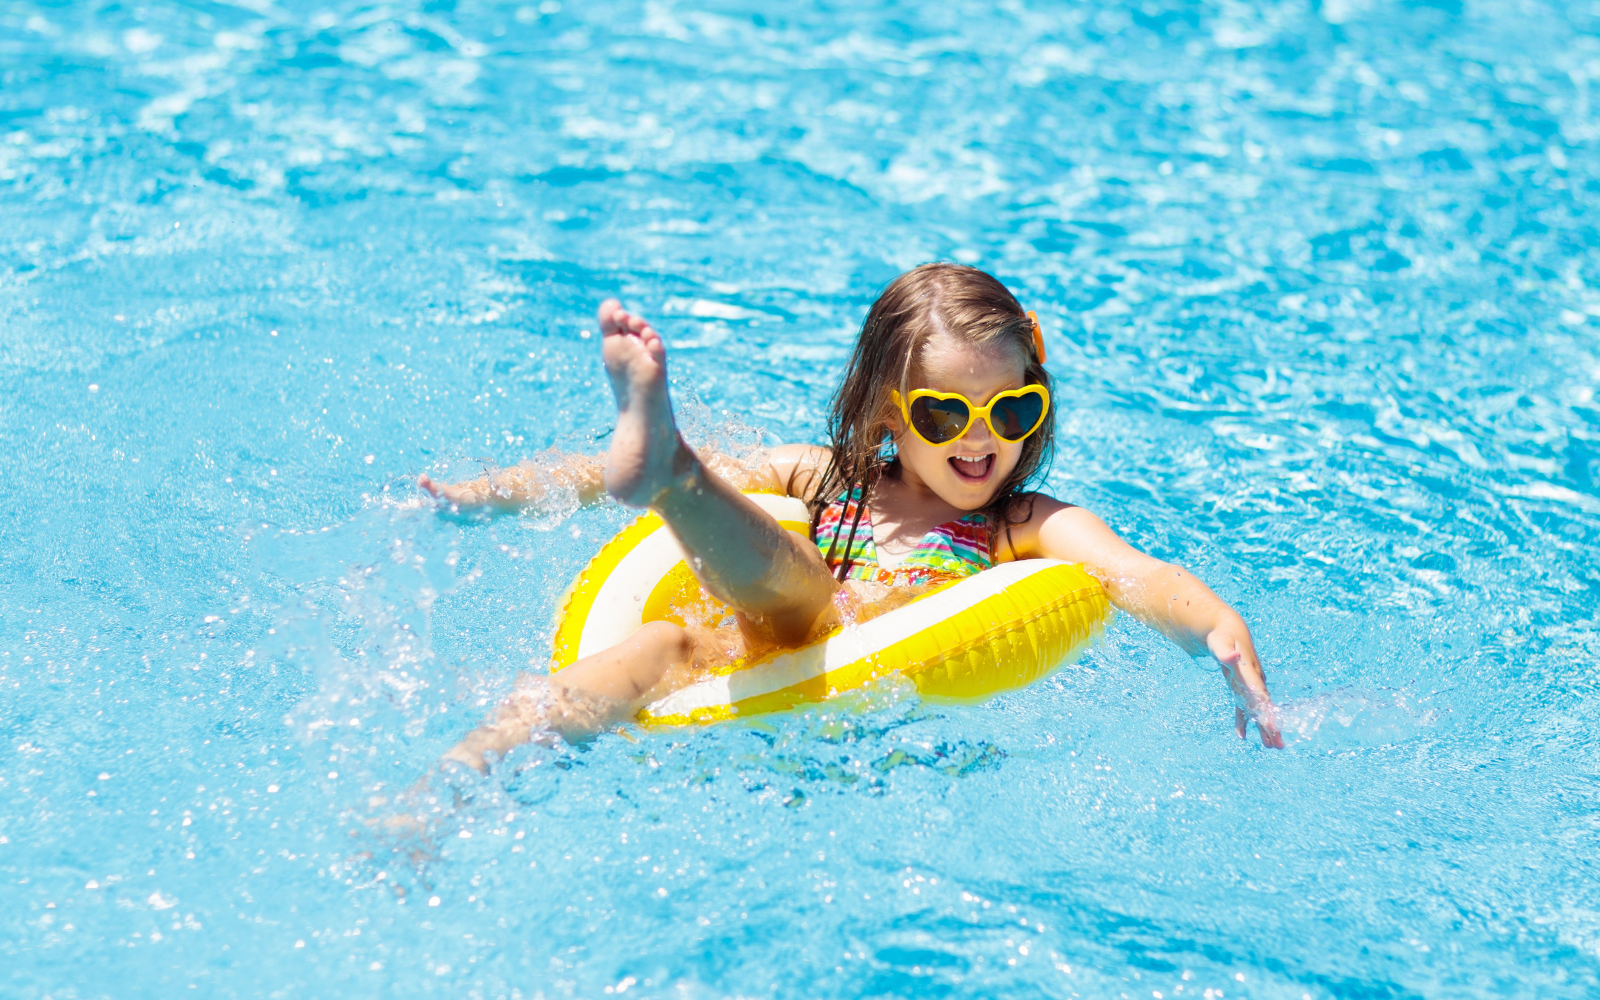
Spring is here! The most anticipated break from the cold winter weather brings us the promise of warmer temperatures and longer days to spend swimming in the pool.
For pool owners, this is the time to start planning the steps to open a pool in the spring . After a long hibernation during the winter, there are essential steps to undertake to ensure success in opening up a pool in spring. Here are the 10 essential steps to open your pool in the spring season, from removing the pool cover to inspecting the pool safety equipment. So - Ready, Set, Swim!

STEP 1: Remove the Pool Cover
The first step to opening your pool in the spring is removing the pool cover. Before you do, ensure it is free of debris or standing water. You would not want any of those falling into your pool.
Use a submersible sump pump to drain the water and a broom to remove any debris from the cover. Once you have cleaned it, carefully remove the cover, and clean it thoroughly before you store it away. Taking good care of your cover will not only prolong its lifespan but also ensure it is still in good condition the next time you need your pool cover during the fall.

Check your cover for any tears, holes, or other damages which might have affected it during the winter. Should you notice any damage, have it repaired or replaced before storing it away. Don’t forget to check the reel system parts for any damages too as you might need to replace some.
STEP 2: Inspect the Pool Equipment
Before you turn your pool equipment on, check all the components. Look for any damage, wear, and tear. If there are components that require repair or replacement, do it before opening your pool. Here are the items to inspect:
- Pump and filter: Check for any damage or leaks. Prime the pump and clean the filter. Ensure they are free of debris. You may need to replace or repair some pump parts or motor .
- Heater: If your pool has a heater, check it for damages or leaks. Test the heater to ensure it works and achieves the desired heating temperature. Some of the pool heater parts may need replacement.
- Skimmer baskets and main drain: Inspect for debris and clogs in the skimmer baskets and main drain. Before starting up the pool, make sure it is cleaned thoroughly.
- Chlorinator: Some pools use a chlorinator to maintain proper chlorine levels. Have it checked for damage or leaks. Check the calibration to ensure it is working efficiently.
- Pool cleaning equipment : Your pool brush, vacuum, and skimmer net should be free of damage or wear and tear. Repair or replace as needed before starting up the pool.
- Pool safety equipment: The pool fence, gate, and pool alarm must be checked to ensure they're in good condition and working. Remember to replace any broken pool fence parts , as safety should be on top priority.
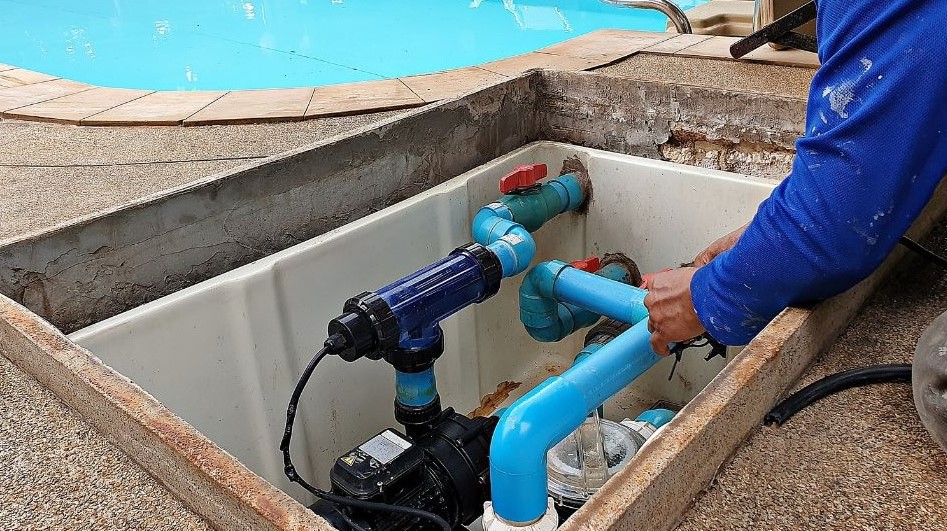
STEP 3: Reconnect Pool Equipment
Once done with the inspection of all your pool equipment, reconnect it to your plumbing and electrical supply. Double-check to ensure all connections are secure. Avoid potential problems or safety hazards. If you are not confident doing this task, get a professional pool technician to help.
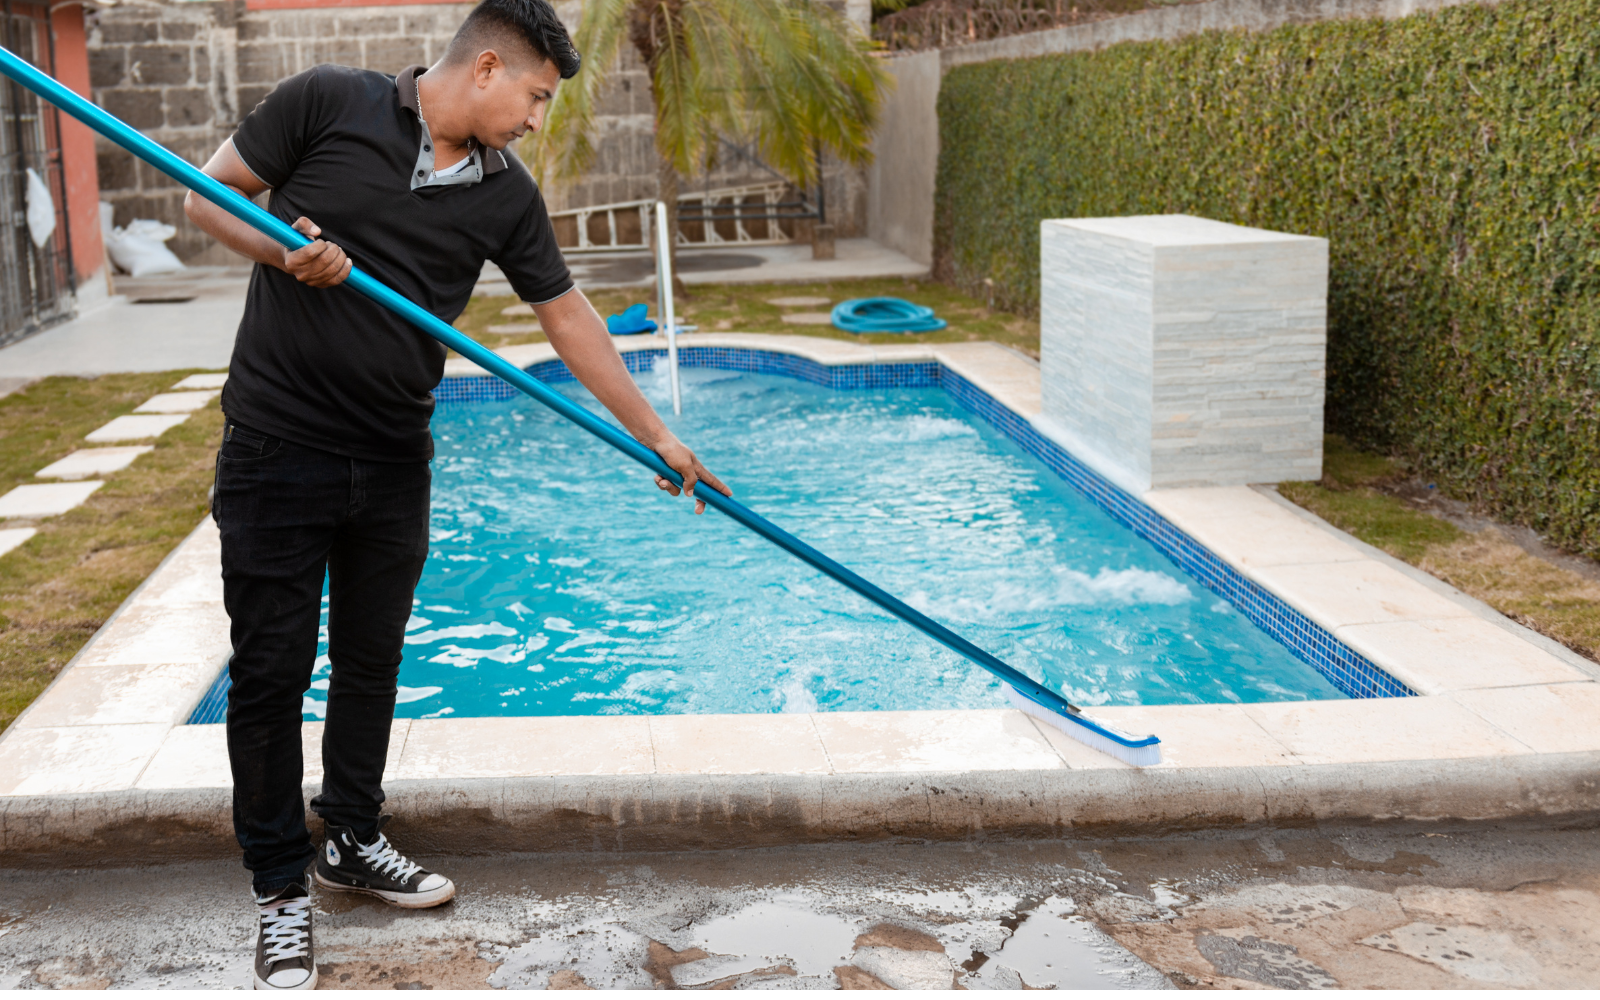
STEP 4: Clean the Pool
It is important to perform a thorough cleaning of the pool before you turn on the pool equipment. Brush the pool walls, remove any debris at the bottom, and skim the surface of the water. You can use a pool vacuum to get rid of unwanted dirt and debris at the bottom. Once your pool is clean, turn the pump and filter on. A clean swimming pool ensures that your water is safe for swimming.
STEP 5: Refill the Pool
When refilling your pool with water, there are several factors to consider. If you have drained the pool for winter, it is time to fill it as per the suggested level on the manufacturer's instructions. If you have a saltwater pool, add only the appropriate amount of salt to the water.
Do not add too much water too quickly, as it can cause the pool liner or plaster to crack. The pressure from the rapid addition of water creates stress on the structure of the pool and can cause damage to it. It is highly suggested to only add water at a rate of no more than one inch per hour.
STEP 6: Test the Water
Check the water chemistry when the pool is filled and adjust the chemicals as needed. Ensure that the pH level is only between 7.2 and 7.8, and the chlorine level between 1 to 3 parts per million (ppm). There are pool testing kits that you can use for this. Water must be well balanced before allowing anyone to swim.

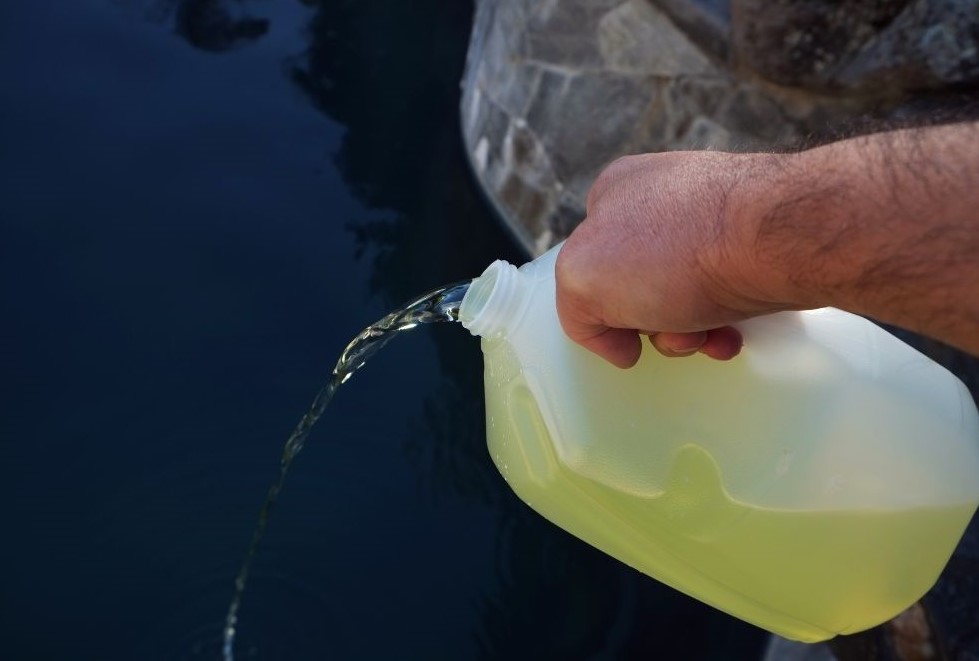
STEP 7: Shock the Pool
This step is very crucial for opening a pool in the spring. It involves adding a very high dose of chlorine and other chemicals to kill bacteria and algae buildup that might have accumulated during the winter.
Even if the swimming pool water appears very clean, you would want to be sure it is absolutely clean before letting your family or friends swim. Read the manufacturer's instructions for your pool shock treatment and test the water chemistry before and after treatment. Be sure you wear protective gloves and goggles when handling chemicals and keep them from reach of children and pets.
Shock treatment will cause the chlorine levels in your pool to rise temporarily, so be sure the chlorine level has returned to a safe level before use. It would usually take several hours depending on the shock treatment used.
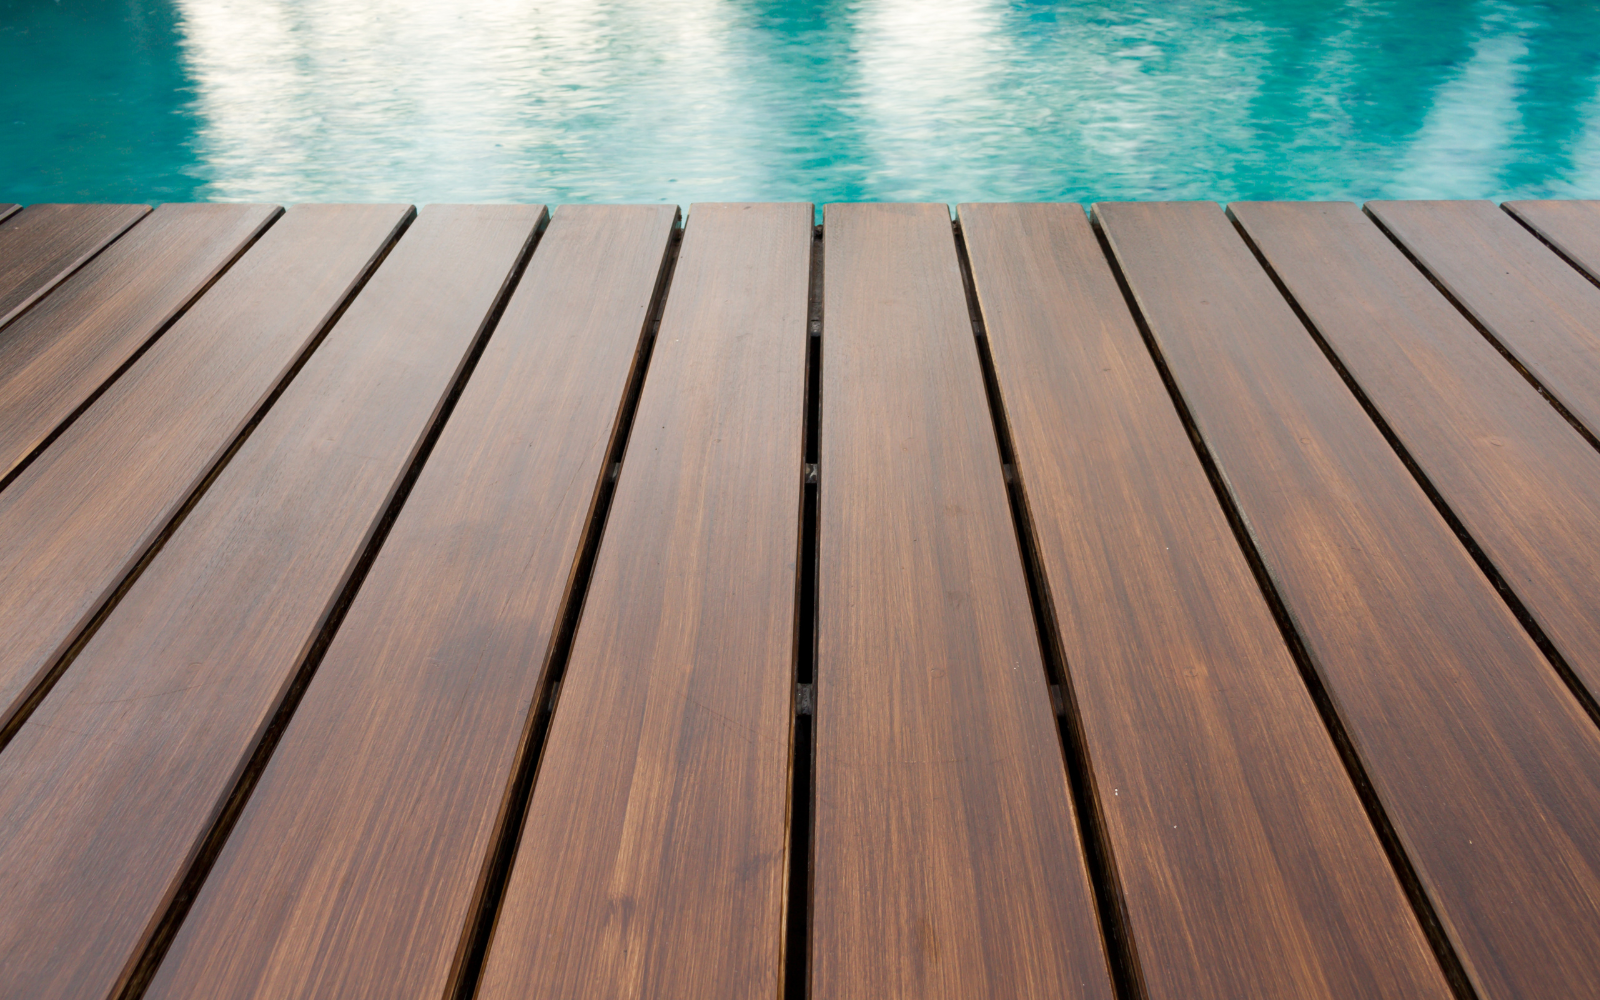
STEP 8: Inspect and Clean the Pool Deck
During the winter, leaves, debris, and other materials can accumulate on the pool deck, and it can cause slip and fall hazards or clog the drainage system of your pool.
Begin by sweeping the pool deck to remove any dirt. Use a power washer to remove stains or buildup on the surface. Aside from cleaning the deck, consider upgrades to enhance the safety and appearance of your deck. Check for loose tiles, cracks, or any damage that can be a safety hazard.
STEP 9: Clean and Inspect Pool Toys and Accessories
It is important to inspect your pool toys and accessories before using them. They can harbor bacteria and mold, which can lead to illness or skin irritation.
Use mild soap and water for cleaning your pool toys and accessories. Rinse thoroughly and allow to completely dry before using.

STEP 10: Create a Maintenance Schedule
Keep your pool well-maintained throughout the pool season by creating a maintenance schedule. Include regular tasks, like skimming the surface, cleaning the filter, and checking chemical levels.
You can also add the less frequent tasks like draining and refilling the pool, inspecting pool equipment, and damage repairs. A maintenance schedule ensures you do not forget important tasks to stay on top of things.
Opening your pool in the spring is not really a daunting task. After following these simple steps, you are ensured that your pool is ready for the season and can be enjoyed for the warmer months ahead. So grab your swimsuit, sunscreen, and pool toys, and get ready to enjoy your pool!