Easy Steps in Opening Your Above or In-Ground Pool in Spring
Posted by Michael Hervas on Apr 15, 2019
Updated on: March 21, 2022
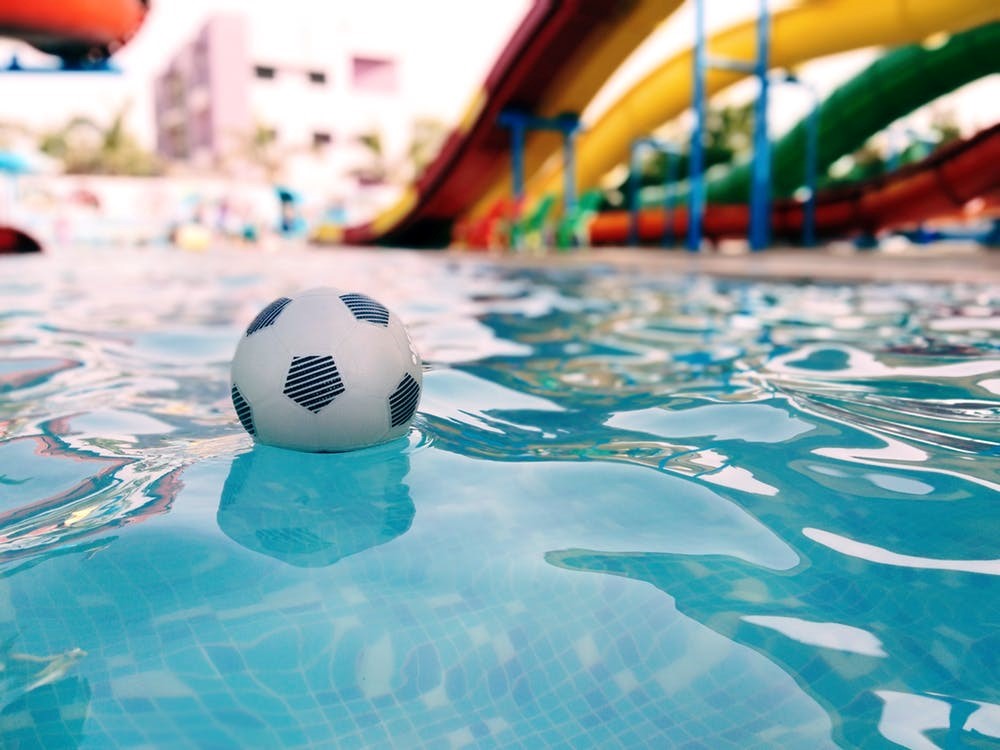
Is your pool ready for another swim season this year? Opening your own swimming pool for the season doesn’t require high level expertise, you just need to these easy steps. If you don’t have time, you can always get a professional to do it for you. But it always pays to be informed and ready in knowing how to open your above or in-ground pool in spring.
Step 1: (If you didn’t install any leaf net, proceed to Step 2) Remove any installed leaf net before opening the cover. It is used to minimize debris build up on your winter cover.
Step 2: Did you place a winter cover on your in-ground pool? (If not, skip this step). Before removing the winter cover, make sure to carefully remove any debris on the cover. Use a pump to remove any water on the cover. Remove the cover and dry it and stow it for the next winter.
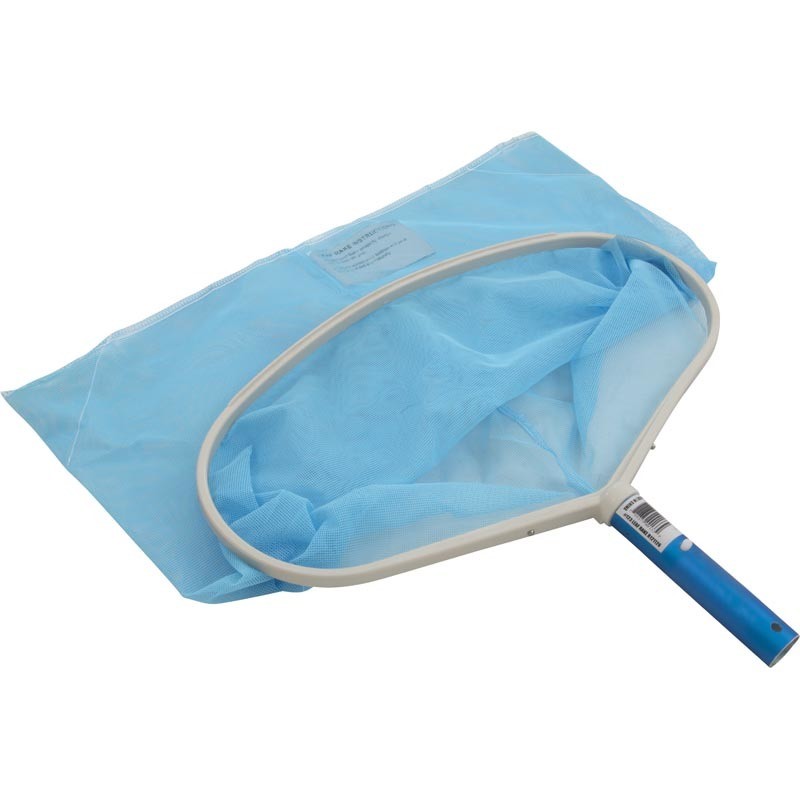
After removing the winter cover, make sure to remove any debris or leaves in the pool water by using use swimming pool leaf rake or skimmer net. Use vacuum or a self-contained pool cleaner to remove any sludge or silt at the bottom of your above ground pool.
Step 4: Clean your pool walls:
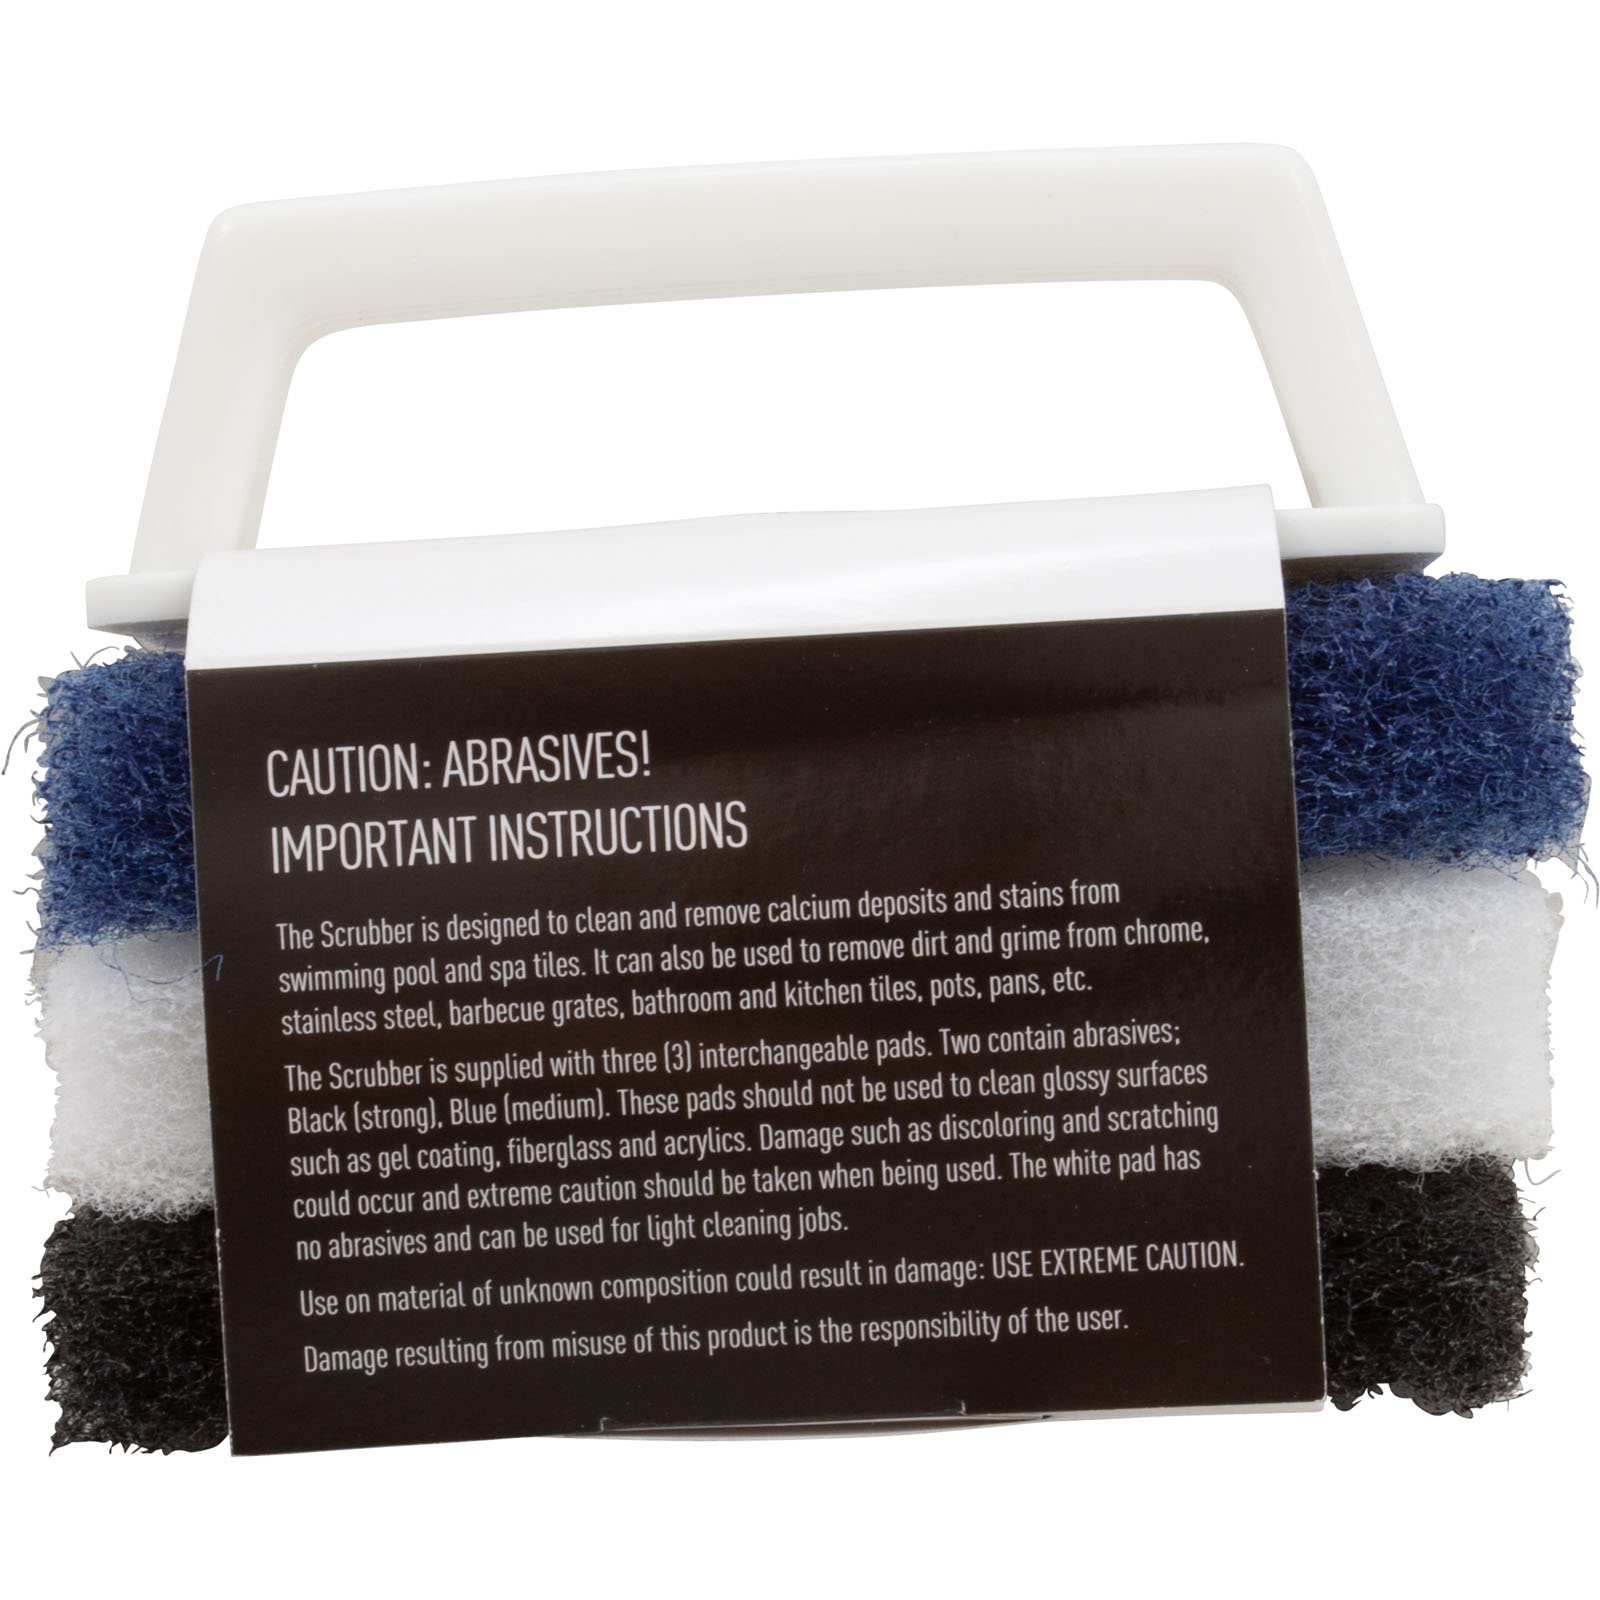
There might be some calcium stains or scales on the pool walls and tiles. These can be removed by using muriatic acid. It is very effectively, but you have to be extra careful when handling such dangerous chemicals. An alternatively friendly, but less effective, solution is by using white vinegar. Vinegar is less strong than muriatic acid, but it does the job for lesser calcium build-ups. Don’t forget to use a good and sturdy brush!
Step 5: Don’t forgot to check the following:
- Skimmer
- Return Lines
- Hoses
- Fittings
- Pump(s)
- Filter System
- Other components for hairline cracks, breaks or other signs of wear or damage.
It would be the best time to replace or repair any damaged equipment to get it ready for swimming.
Step 6: Clean your pool filter.
A clean filter is important to a clean pool, so starting out right by cleaning your filter! Cleaning your filter ensures you’ll have an easier pool maintenance for the entire season.
- Sand filter - inspect the sand and top it off with the appropriate medium to the correct level, if needed.
- Cartridge and DE filters - should be attached and fitted with appropriate refills or supplies.
Step 7: After cleaning your filter, make sure to attach all components, fittings, hoses, and your solar heating system (if you have one).
Do you have ball valves installed at the skimmer or return lines? Now is the best time to install them for added safety during emergency water supply shut-off at intake and outlet when work or maintenance is needed. You can additionally install steps or ladder before or after adding water to your pool.
Step 6: Add water to your swimming pool.
Turning the filter system on should be done after filling the pool with water to the middle of the skimmer throat. Before you turn on your equipment you must check the fittings and hoses for any leaks. Do another round of checking after turning them on and pressure is on the system. This will ensure you don’t have any leaks when the pool is running or not.
- Add sequestering agent - This is important if your water contains heavy metals. Do it before adding any chlorine products to your pool water. Just follow the instructions on the product. It is advisable to run your system for 24 hours to filter out the metals. After which, you must test the water to check if the metal content is now within acceptable range. If not, you can add more sequestering agent or run the system a little longer until you get within the right range.
Step 7: Test your pool water chemistry.
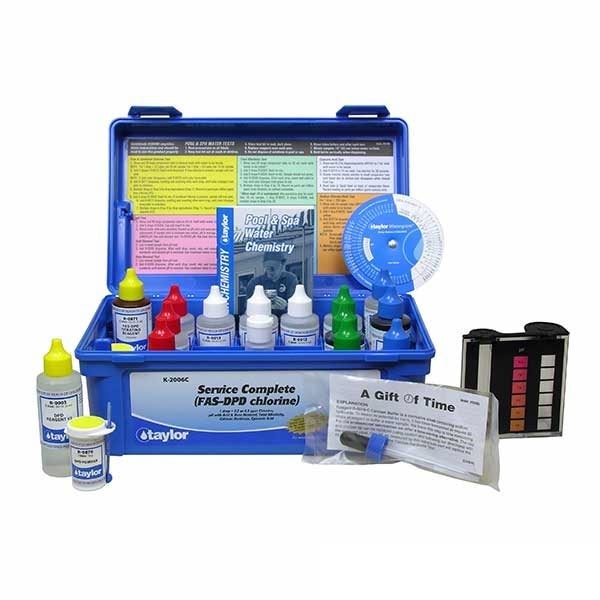
It is essential to only use a quality drop based test kit to get accurate results. We like to use Taylor Test Kit K2006C.
Test and determine the TA, pH, and CYA levels, before adding chemicals to balance them in your pool.
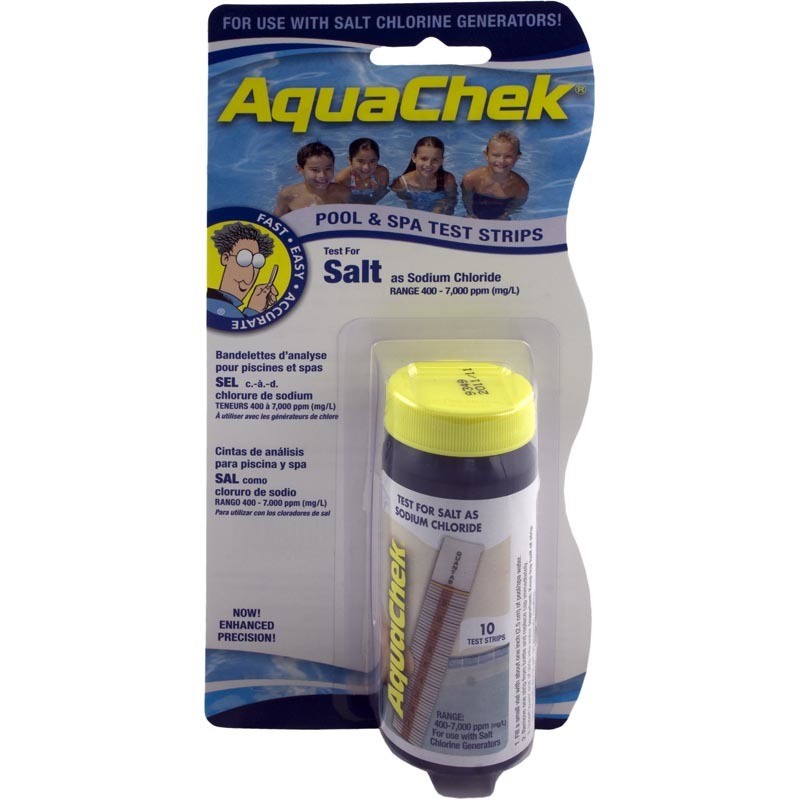
For Salt Water Chlorine Generators (SWCG) owners - salt level is determined by using Salt Test Strips or a meter before adding chemicals and adding the correct amount of replacement salt needed to properly operate the equipment. Most SWCG operate with a salt content between 2,800-3,200 ppm, nevertheless, it would be best to consult the manufacturer of your unit and adjust accordingly.
To kill any algae present in your pool, you might want to shock your pool water with high doses of chlorine and running the pump continuously. There’s also an online pool calculator program that will help you determine the right amount of chlorine to “shock” your pool. This is why a good quality test kit like Taylor K2006C is needed to determine the right amount of chlorine you need to kill the algae.
There will be lots of pool parties and pool games with friends and families. You must testing and adjust your pool water chemistry levels daily to make sure it’s sparkling blue. No need to be a pool expert to make your above or in-ground swimming pool ready for spring.

